
With the release of Windows Server 2016, there's a new version to play with: Nano Server.
Nano Server is a very lightweight, low surface-area server with no console access at all. It uses less disk space, less memory, and because there's less stuff in the box, there's fewer reboots for updates.
The flip side of this is that it doesn't do so much: there's no local console, not even the limited one you get with Server Core, and a bunch of other tools are missing - msiexec, for example. That means it's very much not for every workload. But I had something I thought would be suitable: a simple scheduled task running a .NET application.
To create a new Nano machine, a quick way of getting started is the Nano Server Image Builder. This is a friendly front-end to the PowerShell commands, and a good way of experimenting when you're first starting out. You'll need:
I installed the above directly on my (Windows 10) desktop PC; you might want to do them in a dedicated VM.
The image builder is mostly self-explanatory, but I tripped up a couple of times:
Having created the image and booted it, you're left at a basic login screen. There's not a lot you can do except enable and disable existing firewall rules - handy for turning on the ICMP Echo Request rule so it responds to pings!
So, how to actually use the new VM? Remote PowerShell, basically.
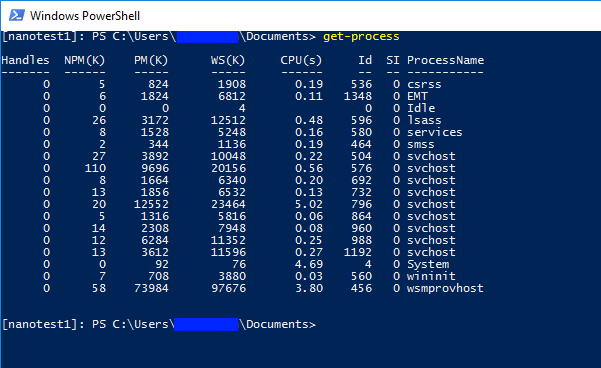
For interactive use, you can use New-PSSession -ComputerName foo then Enter-PSSession to get a remote console on the Nano VM on your desktop:
So far so good. But how to actually get code on there? We use Octopus Deploy for a lot of our application deployments, and it's great. Unfortunately, the agents (known as Tentacles) are .msi packages. Normally, that's a great thing, but with Nano there's no msiexec.
A bit of manual file copying later, and I realised the real blocker for my application: Nano is CoreCLR only - not the full .NET Framework. It's also 64-bit only (no WOW64), though that didn't affect me in this case.
Never mind, back to Server Core for now!
comments powered by Disqus